Open a Picture
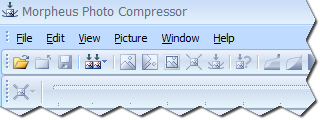 Start Morpheus Photo Compressor by clicking on the icon, either on your
desktop, or in the Start menu. If you are in the right program, the corner
of the screen should resemble this picture.
Start Morpheus Photo Compressor by clicking on the icon, either on your
desktop, or in the Start menu. If you are in the right program, the corner
of the screen should resemble this picture.
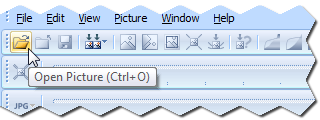 The first step is to open up the picture you would like to compress.
Click the Open Picture button on the main toolbar to open a picture.
The first step is to open up the picture you would like to compress.
Click the Open Picture button on the main toolbar to open a picture.
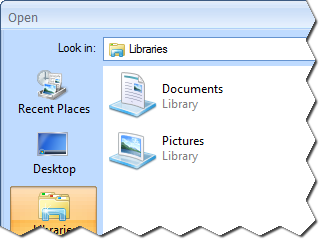 You should now see the Open dialog, which should resemble this picture.
 Locate the picture on your computer which you wish to compress and select it.
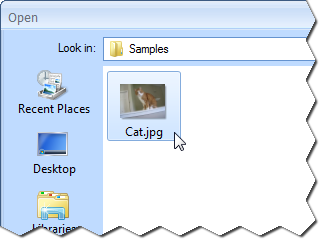
In this tutorial we will use the sample picture entitled "Cat.jpg". This image
comes included with the program as a sample for you to experiment with.
You can work with this sample image as you follow the tutorial steps, or open any
other image if you would prefer to use your own image.
Locate the picture on your computer which you wish to compress and select it.
In this tutorial we will use the sample picture entitled "Cat.jpg". This image
comes included with the program as a sample for you to experiment with.
You can work with this sample image as you follow the tutorial steps, or open any
other image if you would prefer to use your own image.
 Once you have selected the picture you wish to compress, click the Open button
to open the picture into Morpheus Photo Compressor.
Once you have selected the picture you wish to compress, click the Open button
to open the picture into Morpheus Photo Compressor.
 If your picture is from a digital camera or scanner, it will most likely not fit into
the program's main screen and you will not be able to see the entire picture at once.
This is not a problem because the picture is displayed the exact size it was last saved as.
Sometimes the entire size is the only way many people may see your picture if you were to
email it to them, which is one reason you need to compress it.
If your picture is from a digital camera or scanner, it will most likely not fit into
the program's main screen and you will not be able to see the entire picture at once.
This is not a problem because the picture is displayed the exact size it was last saved as.
Sometimes the entire size is the only way many people may see your picture if you were to
email it to them, which is one reason you need to compress it.
The "Cat.jpg" sample is from an 8 Megapixel digital camera. Unless your monitor resolution
is set very high, you probably won't even be able to see the cat in the picture unless you
scroll down and to the right. Either way, it is not a problem and you can continue on to the
next step because resizing and compressing your pictures is exactly what Morpheus Photo Compressor is for.